• Welcome
  • Health and Wellness
  • Homemaking
  • Recipes
  • Shop
  • Homeschool

Melted Crayon Shapes

October 11, 2011 by Quin 2 Comments

What would you do with an ice cream bucket FULL of crayons?
Well I’ll tell you what I did.  I sorted them by color and saved all of them longer than 2 inches for precious little hands to color with. The ones under about 2 inches went back in the bucket to be melted into new exciting shapes!
I did this a few years ago with my playgroup friends.  At the time it was just about Easter & we made butterflies, eggs, and spring shapes.
Today it’s just me and my little guy, so we are making dinosaur shapes!

So far I have had the oven set at 170 (the lowest my oven will go) for about 20 minutes.  I checked them at 15 and they weren’t totally melted yet.
I’ll post an update when they’re completed!  I hope they turn out well, but if they don’t, I’m not too worried about it.  These were just pieces of crayons that had already had lots of love.  And really, more than anything it’s something for the short guy and I to do together until his big sister comes home from school.

*Update:  My dinosaur took FOREVER.  I know this is because I didn’t break mine into little pieces.  So the result was it took longer (about 50 minutes), and the back of my dinosaur looked like it had bones and a horn where there were still pieces that hadn’t melted.  The front of both looked just right though!  Mine is the brownish/red (I used all the dark crayons I was sure the kids wouldn’t want to use).

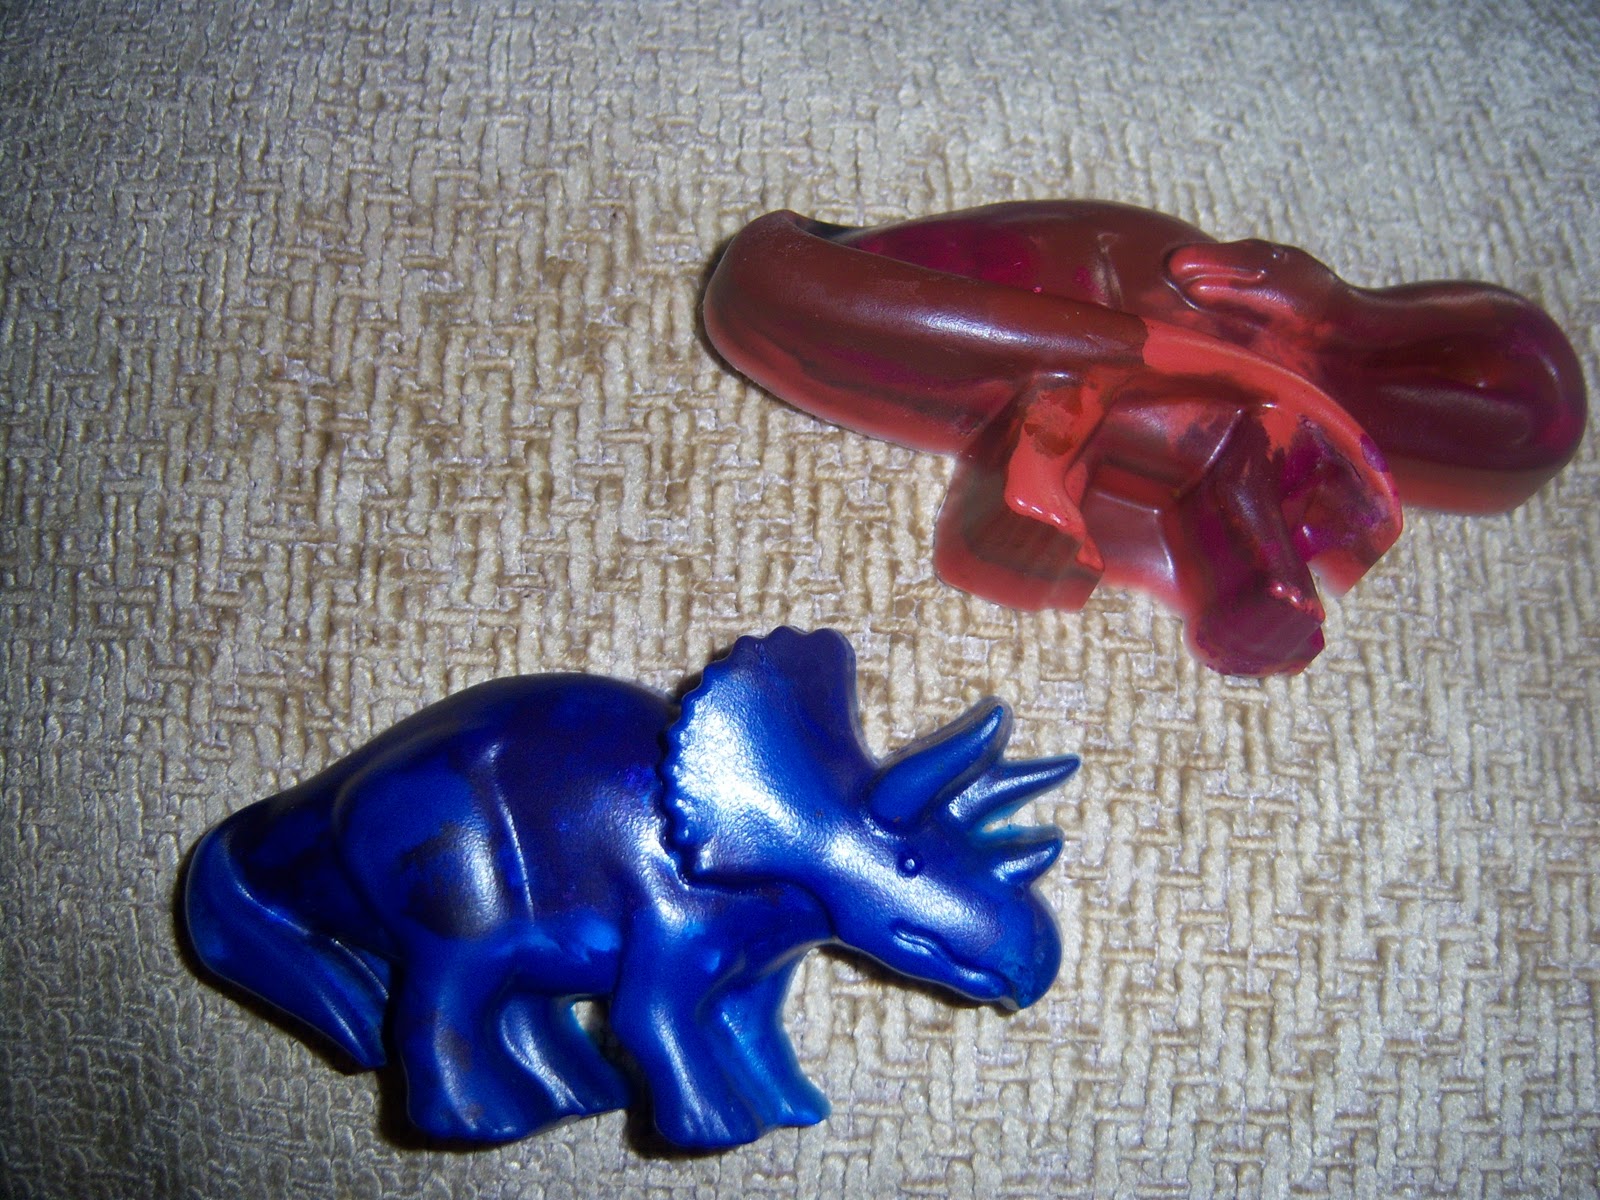
Now the two creatures are playing with each other and the little guy is occupied because it’s like he has a new toy.  Success!

Filed Under: All The Posts, Celebrate Absolutely Everything, Homeschool Tagged With: Homeschool

« Back to Blogging
Learning something new. »

Comments

  1. Anonymous says

    February 10, 2012 at 3:22 am

    What did you use to make the shapes? Did you melt the crayons and then pour them into molds?

    Reply
  2. betterwife825 says

    February 15, 2012 at 5:48 pm

    We used this pan:
    http://www.amazon.com/Nordic-Ware-Cast-Dinosaur-Cakelette/dp/B001TI7SAC/ref=sr_1_2?ie=UTF8&qid=1329328019&sr=8-2
    That I picked up at a second hand store for a few dollars.
    It really didn't make that great of muffins, so it was perfect for this.
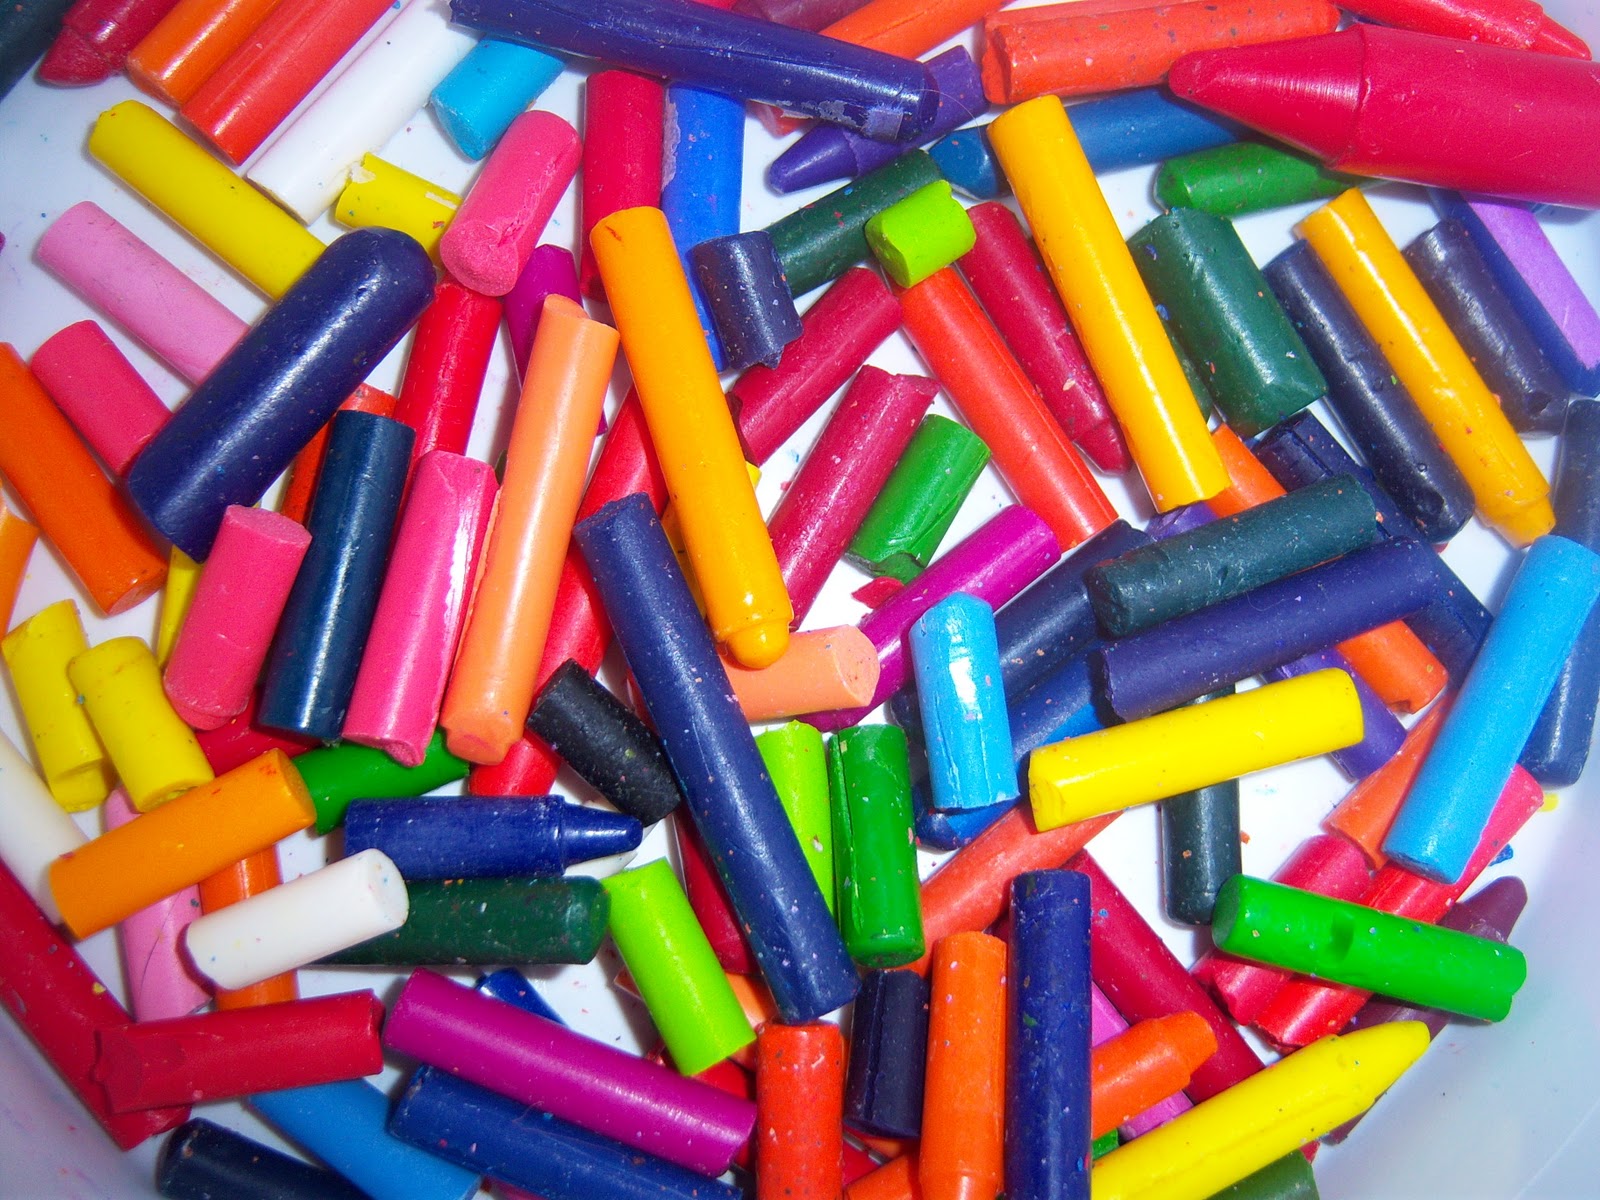
    I broke apart the crayons into small peices & put them into the mold. You can also melt the crayons first in a can inside a pot of boiling water then pour into molds. Just don't use plastic molds of course, it will melt.

    Reply

Leave a Reply to betterwife825 Cancel reply

Your email address will not be published. Required fields are marked *

Recipe Rating


Welcome!

Categories

  • All The Posts (196)
  • Celebrate Absolutely Everything (48)
  • Encouragement (21)
  • Gift Guides (10)
  • Health and Wellness (13)
  • Homemaking (66)
  • Homeschool (32)
  • Marriage (6)
  • Parenting (61)
  • Recipes (33)
  • Thanks (6)

Copyright

Feel free to share links from A Slightly Better Life as long as they’re used in a kind, respectful way and proper credit is given. I ask that you include a link back to this site when you share, not copy the text.

All content is owned by Quincey B. and may not be republished elsewhere without permission.

Pinning to Pinterest? Sharing to Facebook or Instagram? Absolutely – and thank you!

Disclosure

As an Amazon Associate, I earn from qualifying purchases. This site contains affiliate links, which means I may earn a small commission if you click and purchase, at no extra cost to you. Thank you for supporting A Slightly Better Life!

Copyright © 2025 · Foodie Pro Theme on Genesis Framework · WordPress · Log in